HR Helper User Guide
Overview of User Guide
1 Introduction
HR Helper is a desktop app for managing employees, optimized for use via a Command Line Interface (CLI) while still having the benefits of a Graphical User Interface (GUI).
HR Helper is mainly targeted at fledgling companies (e.g start-ups), who want to have an easy-to-use, intuitive human resource manager. With its gentle learning curve and versatility, it can be easily picked up by anyone, and used by any type of company.
Whether it be 5 staff members or 500 employees, HR Helper has the capability to accommodate a wide range of company sizes and is sure to be an asset to your companies' management system!
2 About
This user guide provides an overview for HR staff on the usage of HR Helper.
It starts off with the simple steps you need to take to install the app, to ensure you have a smooth experience getting started.
Afterward, it runs through the various commands available at your disposable to so you can use the app to its fullest potential.
Finally, frequently asked questions as well as known issues will be displayed so you can clarify any queries you might have.
3 Starting HR Helper
Ensure you have Java
17or above installed in your Computer.Download the latest
.jarfile from here.Copy the file to the folder you want to use as the home folder for your HR Helper.
Open a command terminal,
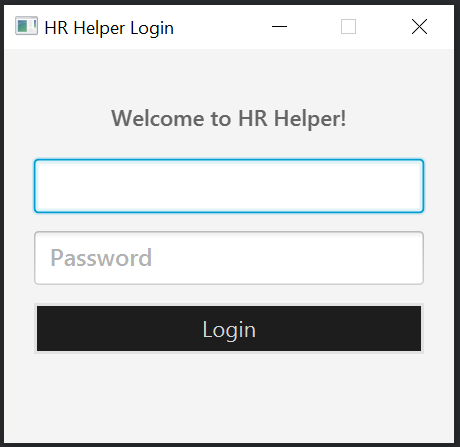
cdinto the folder you put the jar file in, and use thejava -jar HRHelper.v1.6.jarcommand to run the application.A login window similar to the below should appear in a few seconds. Login to HR Helper.
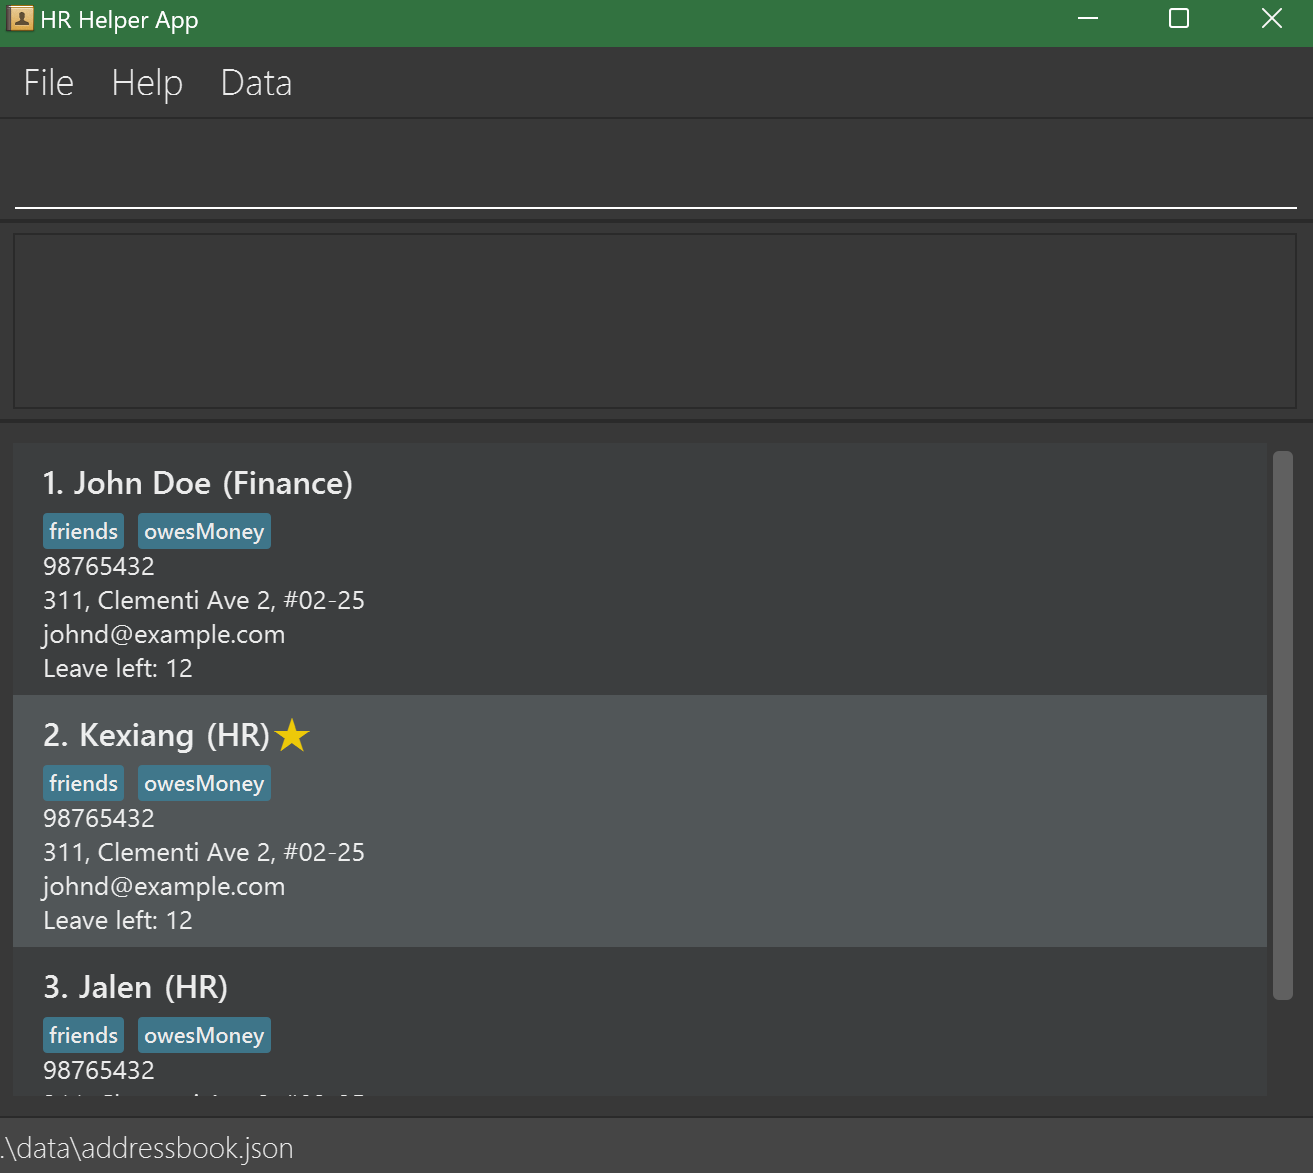
A GUI similar to the below should appear in a few seconds. Note how the app contains some sample data.
Type the command in the command box and press Enter to execute it. e.g. typing
helpand pressing Enter will open the help window.Some example commands you can try:
list: Lists all employees.add n/John Doe p/98765432 e/johnd@example.com a/311, Clementi Ave 2, #02-25 t/friends t/owesMoney f/ d/HR l/12 1: Adds an employee namedJohn Doeto the HR Helper list.delete 3: Deletes the 3rd employee shown in the current list.clear: Deletes all employees.exit: Exits the app.
4 Features of HR Helper
Notes about the command format:
Words in
UPPER_CASEare the parameters to be supplied by the user.
e.g. inadd n/NAME,NAMEis a parameter which can be used asadd n/John Doe.Items in square brackets are optional.
e.gn/NAME [t/TAG]can be used asn/John Doe t/friendor asn/John Doe.Items with
… after them can be used multiple times including zero times.
e.g.[t/TAG]…can be used as(i.e. 0 times),t/friend,t/friend t/familyetc.Parameters can be in any order.
e.g. if the command specifiesn/NAME p/PHONE_NUMBER,p/PHONE_NUMBER n/NAMEis also acceptable.Extraneous parameters for commands that do not take in parameters (such as
help,list,exitandclear) will be ignored.
e.g. if the command specifieshelp 123, it will be interpreted ashelp.If you are using a PDF version of this document, be careful when copying and pasting commands that span multiple lines as space characters surrounding line-breaks may be omitted when copied over to the application.
4.1 Authentication
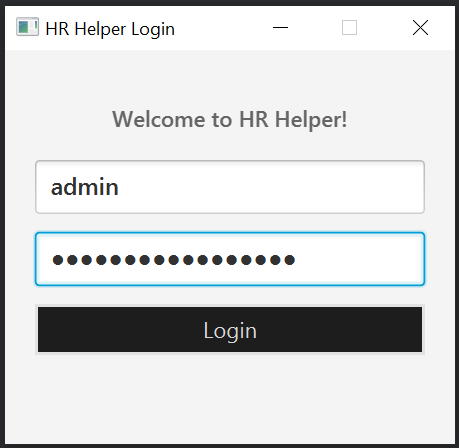
Login to HR Helper with your username and password.
Format:
Tip: Press Enter to go to the next field!
Examples:
- For this version, the username is
adminand password is12345678.
Warning: Keep your credentials secure.
4.2 Viewing help : help
Shows a message explaining how to access the help page.
Format: help
Tip: Use the help command anytime to quickly refresh on command usage.
Examples:
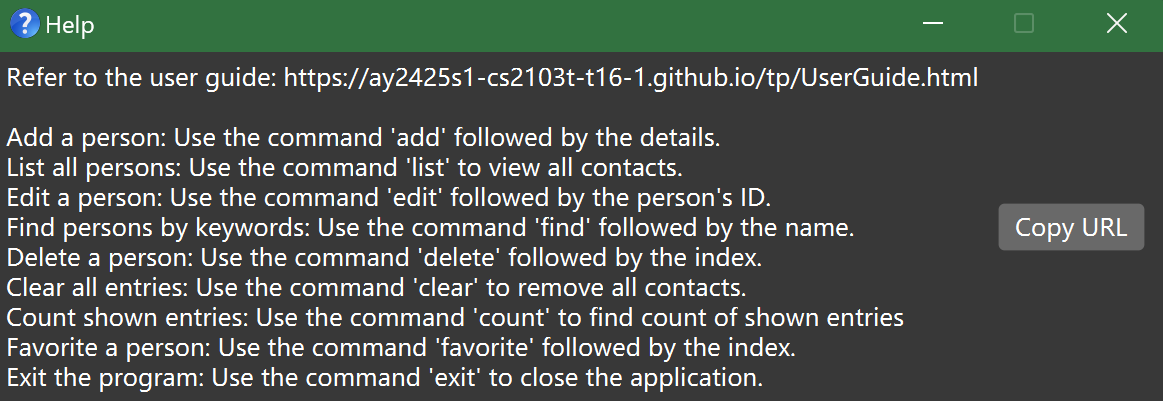
Warning: Navigating to the link will not close HR Helper. Do not leave your device unattended.
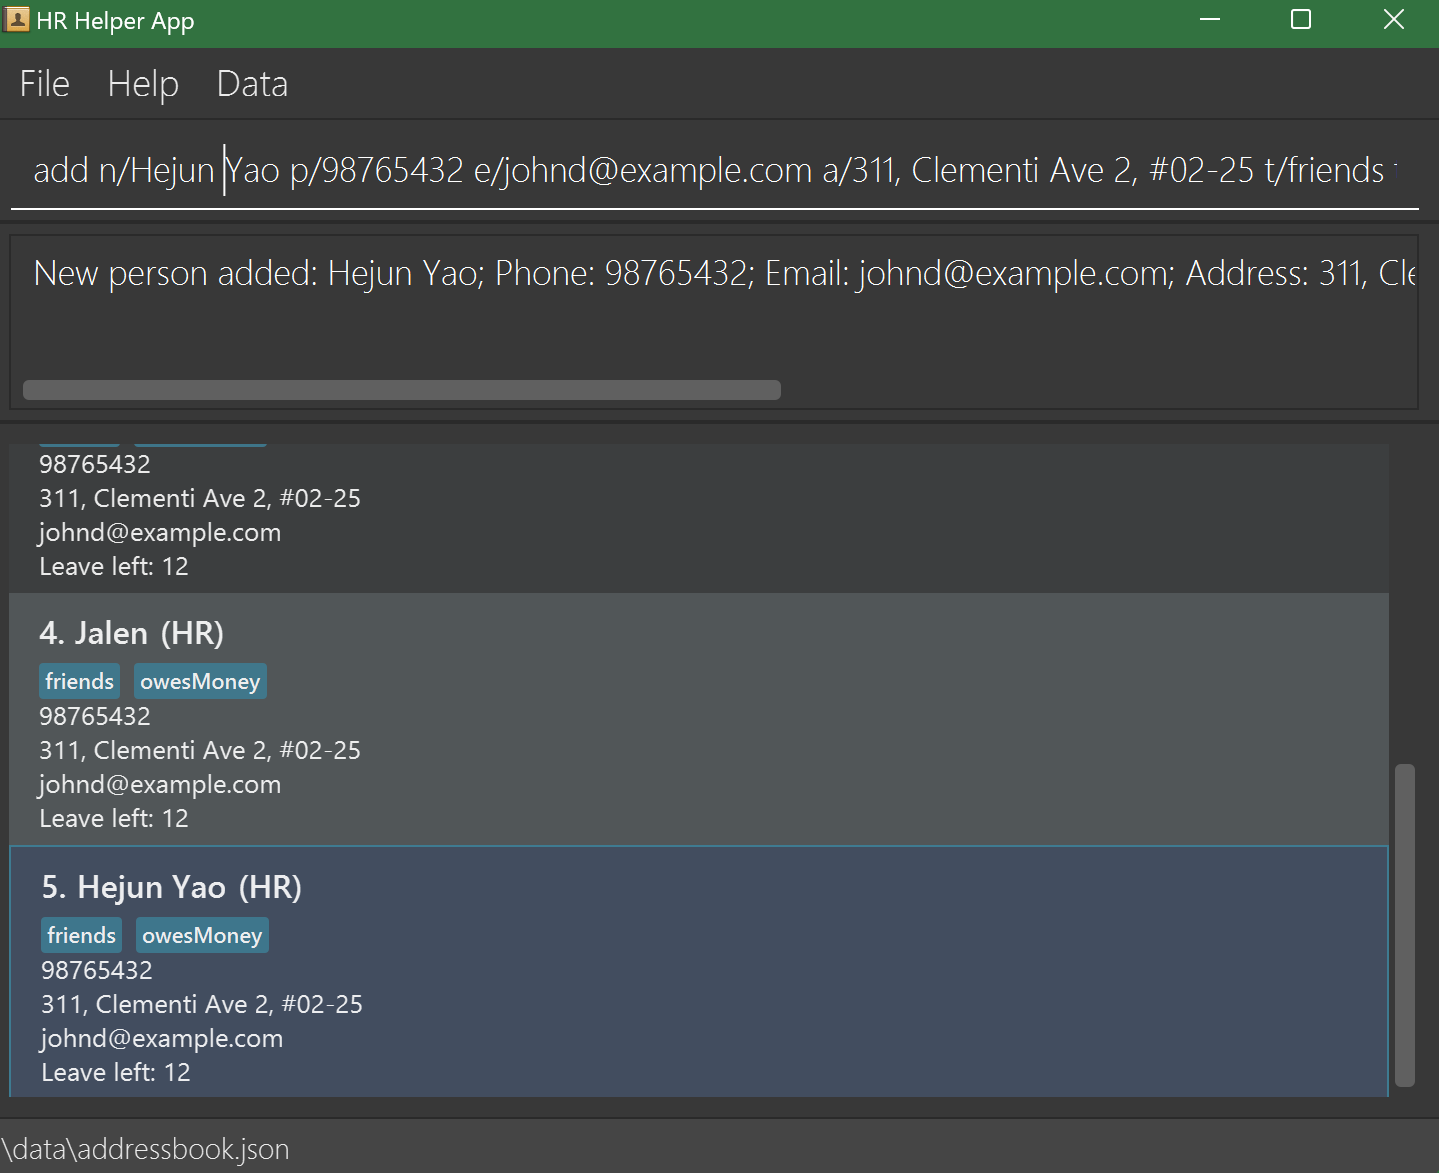
4.3 Adding an employee : add
Adds an employee to the HR Helper.
Format: add n/NAME p/PHONE_NUMBER e/EMAIL a/ADDRESS [t/TAG]… [f/FAVORITE] [d/DEPARTMENT] [l/LEAVE]
Tip: An employee can have any number of tags (including 0)
Examples:
add n/John Doe p/98765432 e/johnd@example.com a/John street, block 123, #01-01 f/true d/Operations l/12add n/Betsy Crowe t/friend e/betsycrowe@example.com a/Newgate Road p/1234567 t/lazy f/true d/Marketing l/10
Warning: Duplicate employees with the same name cannot be added.
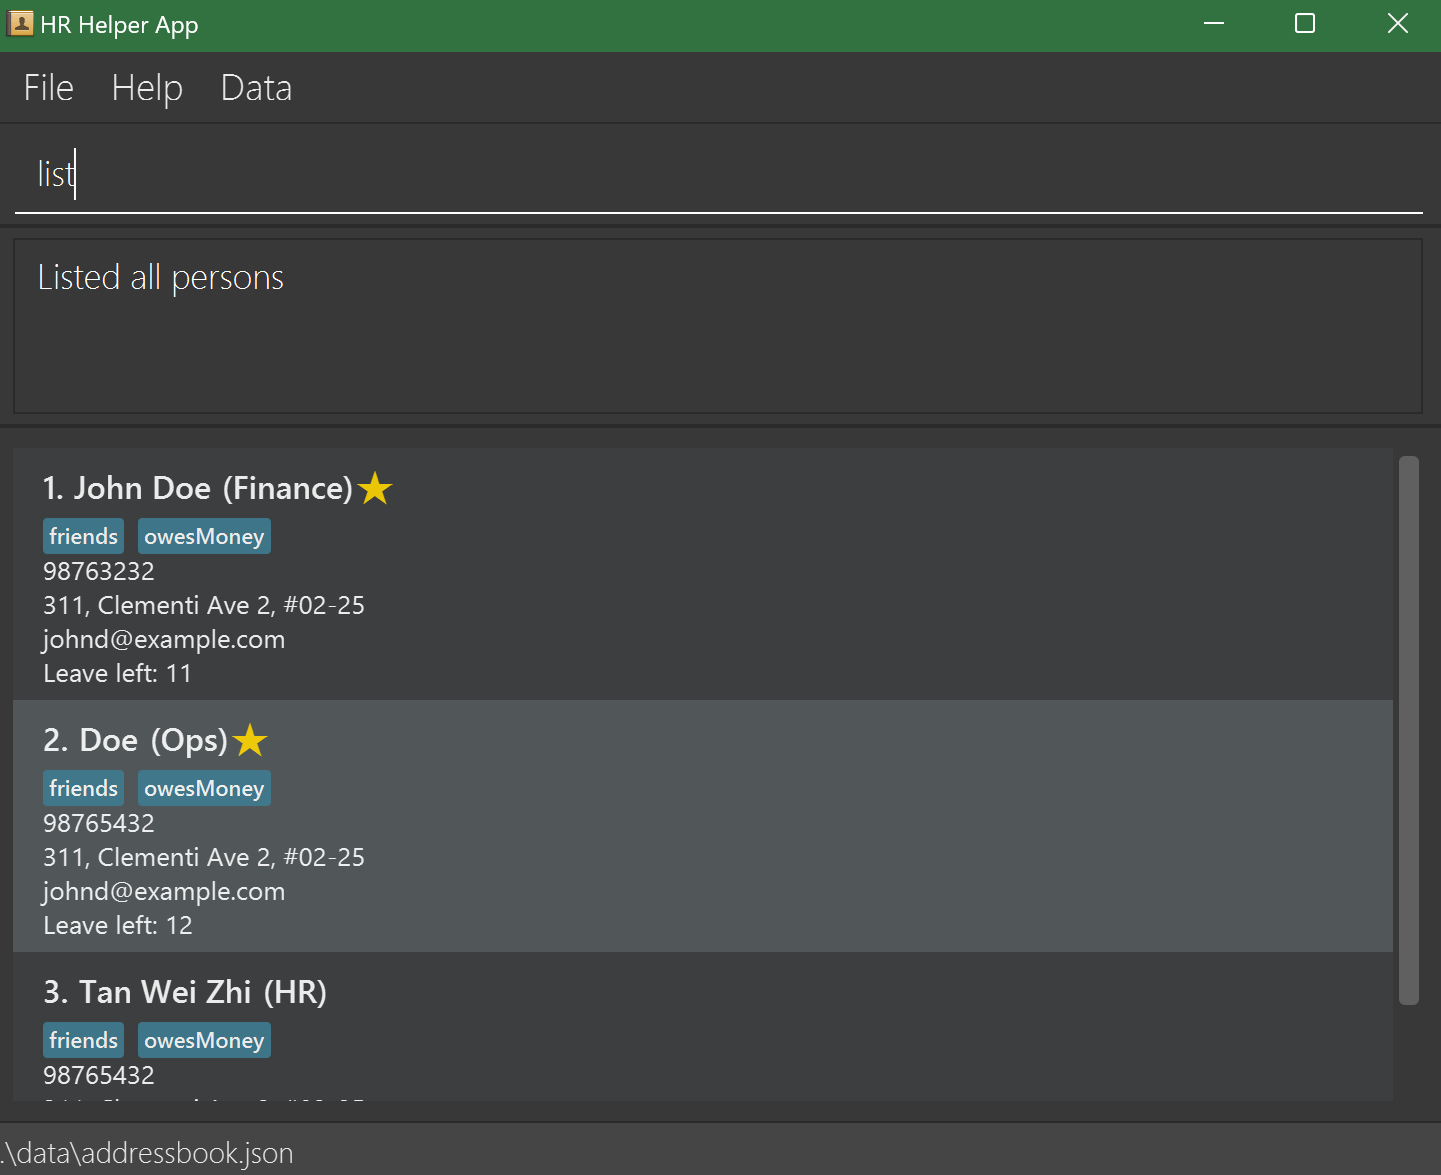
4.4 Listing all employees : list
Shows a list of all employees in HR Helper.
Format: list
Tip: list can be used to show all employees after using the find command.
Example:
listshows all employees.
Warning: Use this command before other commands like delete or edit to ensure you’re modifying the correct entry.
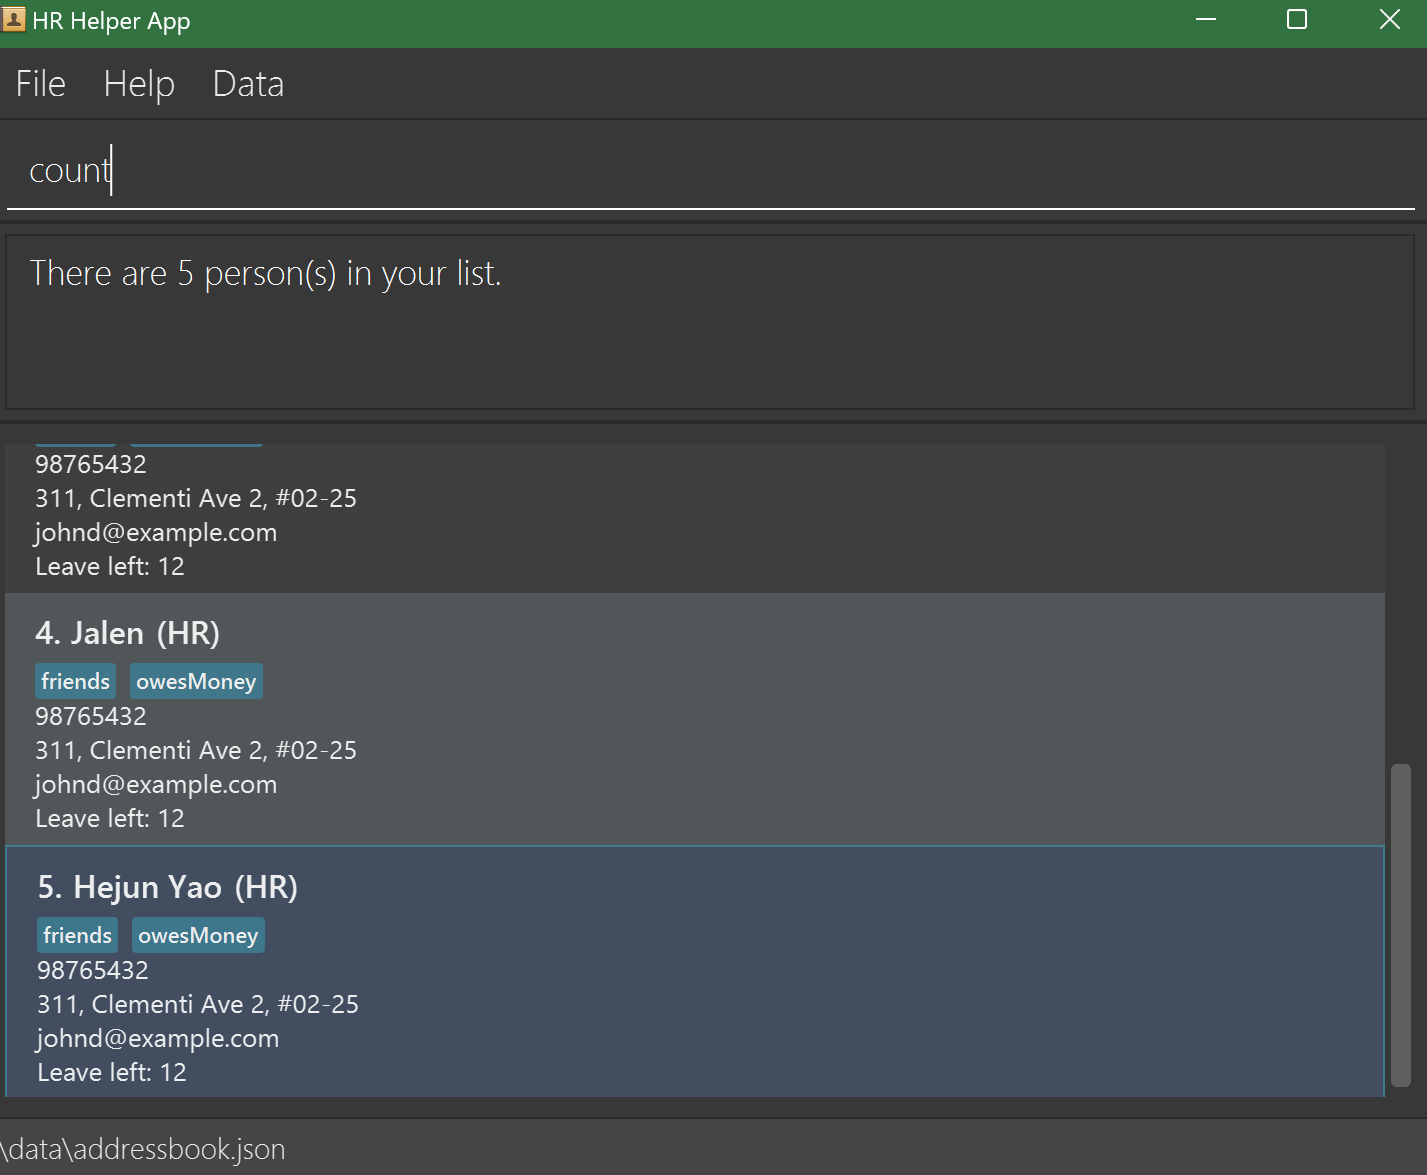
4.5 Counting employees : count
Counts number of employees.
Format: count(for counting the filtered list), count tag/TAG(for counting employees with given TAG)
- If counting the entire list, use
count. - If counting employees with specified TAG, add TAG to end of the command.
Tip: Use count with tags to quickly assess team sizes within specific departments or roles
Examples:
countcount tag/Communications
Warning: When using count t/TAG, ensure that the TAG exists and is spelled accurately; otherwise, the command may return zero results.
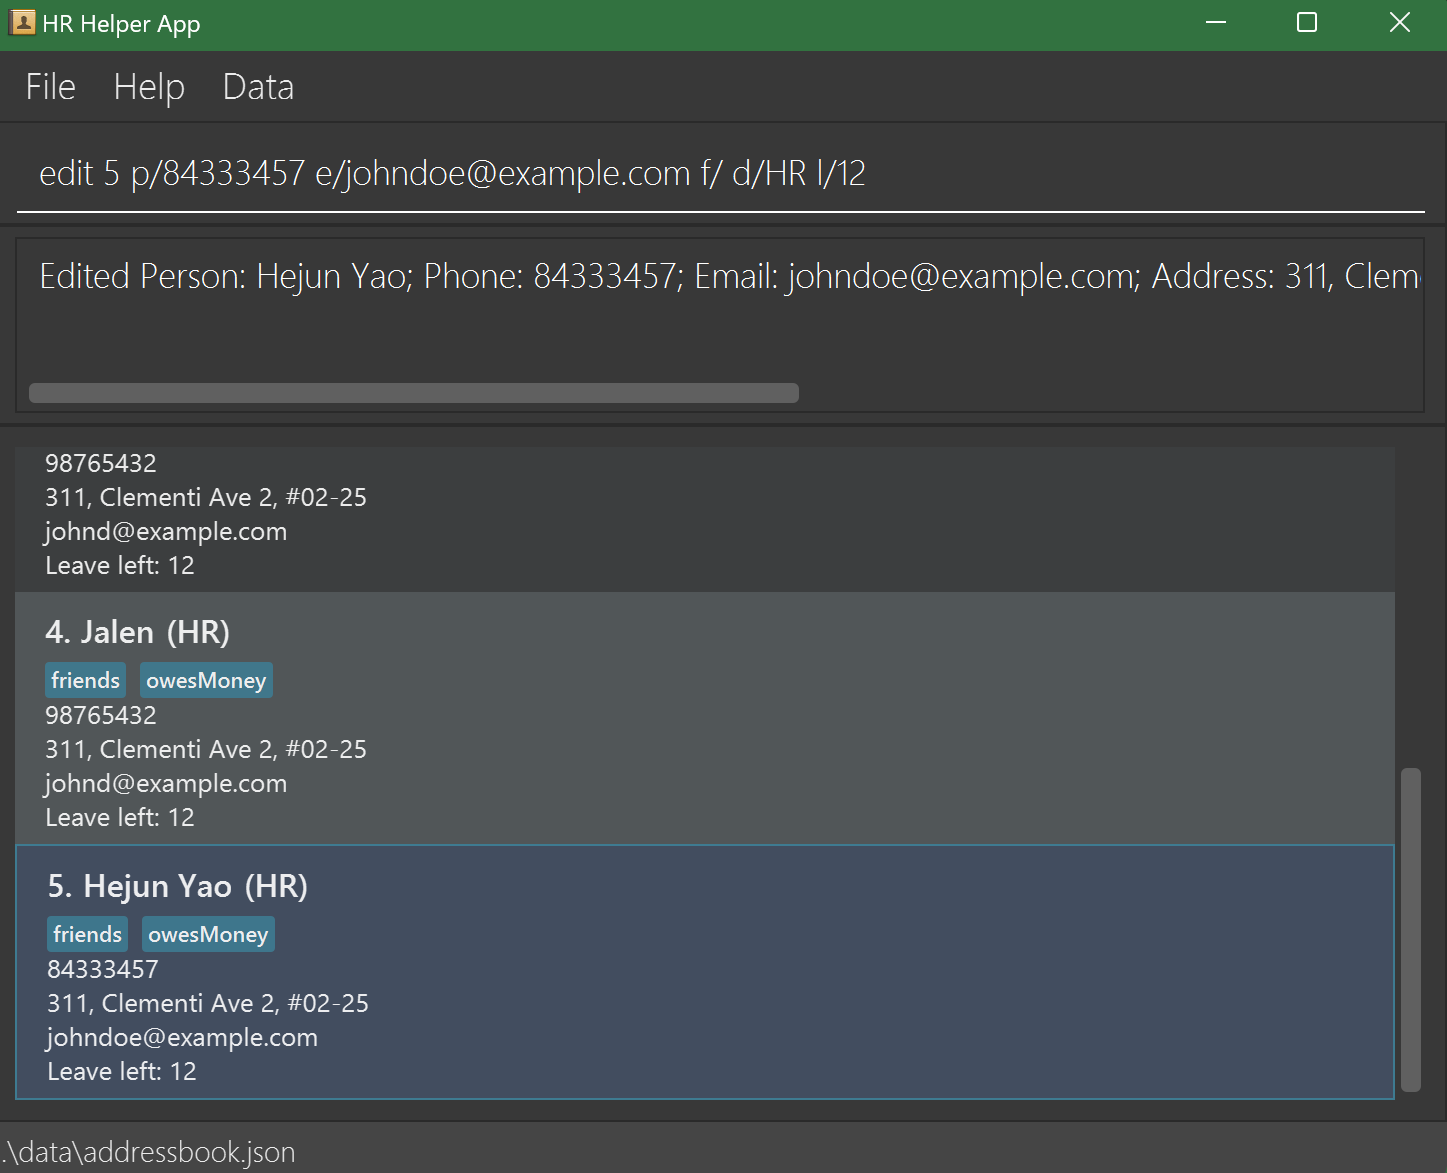
4.6 Editing an employee : edit
Edits an existing employee in the HR Helper.
Format: edit INDEX n/NAME p/PHONE_NUMBER e/EMAIL a/ADDRESS [t/TAG]… [f/Boolean] [d/DEPARTMENT] [l/LEAVE]
- Edits the employee at the specified
INDEX. The index refers to the index number shown in the displayed employee list. The index must be a positive integer 1, 2, 3, … - At least one of the optional fields must be provided.
- Existing values will be updated to the input values.
- When editing tags, the existing tags of the employee will be removed i.e adding of tags is not cumulative.
- You can remove all the employee’s tags by typing
t/without specifying any tags after it.
Tip: To remove all tags, use t/ without specifying tags (e.g., edit 1 t/).
Examples:
edit 1 p/91234567 e/johndoe@example.comEdits the phone number and email address of the 1st employee to be91234567andjohndoe@example.comrespectively.edit 2 n/Betsy Crower t/Edits the name of the 2nd employee to beBetsy Crowerand clears all existing tags.
Warning: Changes overwrite current data. Double-check inputs before saving.
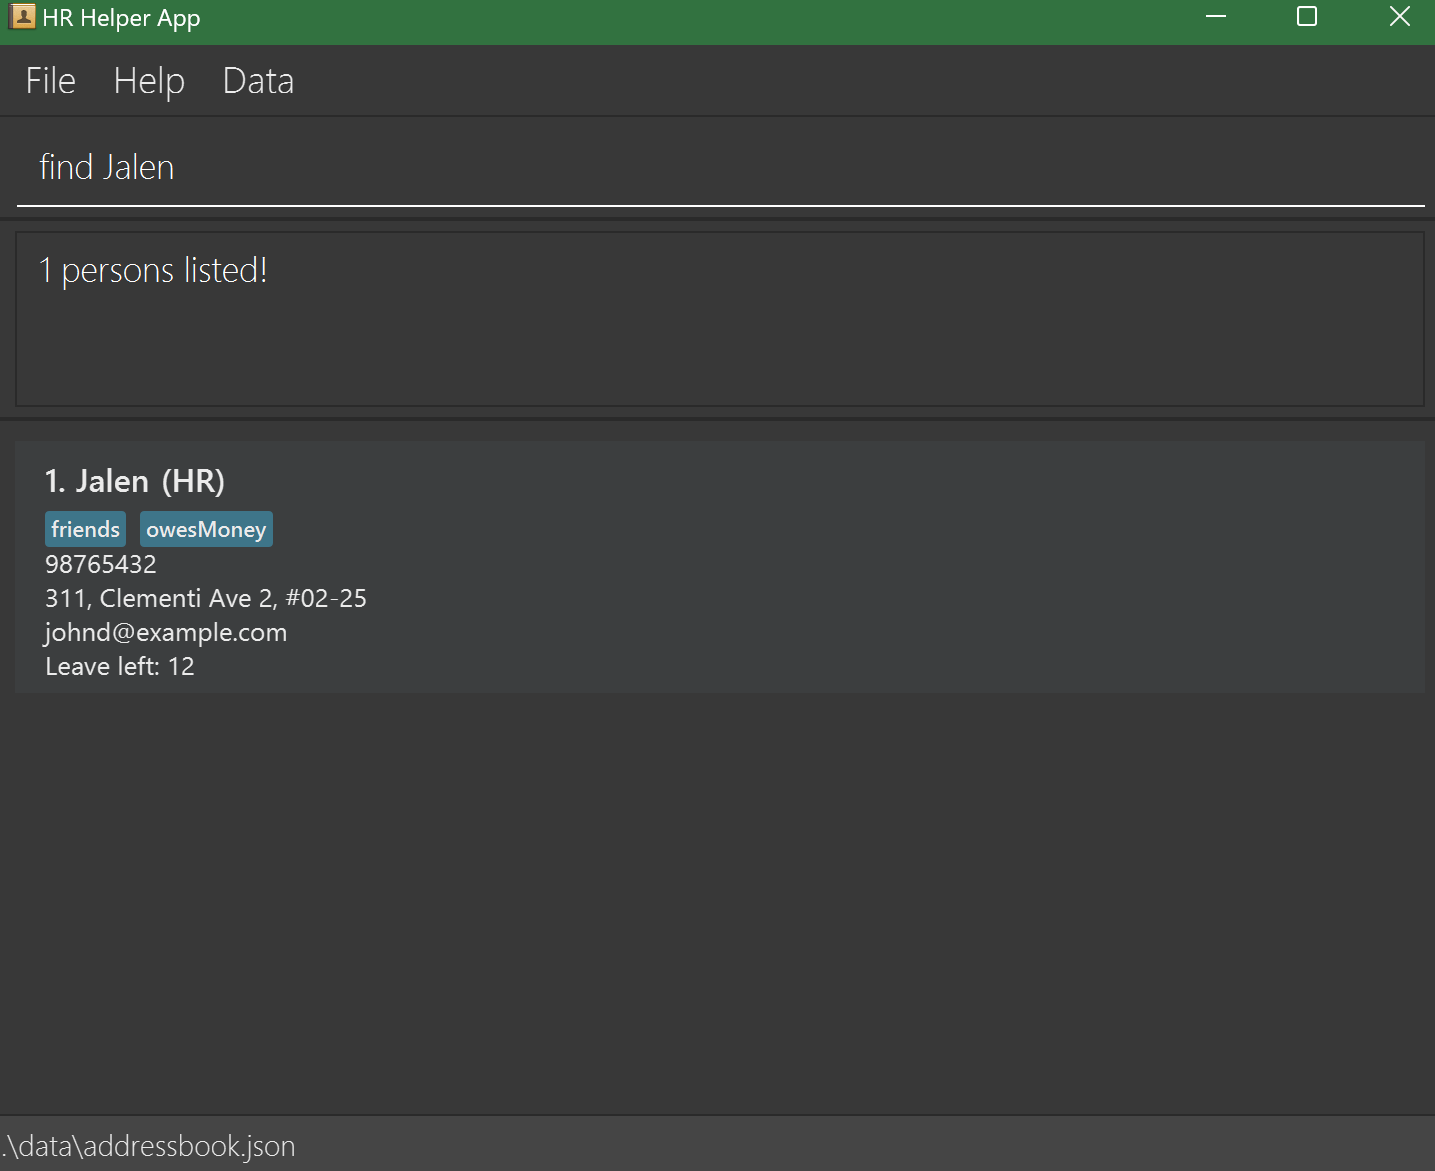
4.7 Locating employees by name : find
Finds employees whose names contain any of the given keywords.
Format: find KEYWORD [MORE_KEYWORDS]
- The search is case-insensitive. e.g
hanswill matchHans - The order of the keywords does not matter. e.g.
Hans Bowill matchBo Hans - Only the name is searched.
- Only full words will be matched e.g.
Hanwill not matchHans - Employees matching at least one keyword will be returned (i.e.
ORsearch). e.g.Hans Bowill returnHans Gruber,Bo Yang
Tip: Use partial keywords to broaden your search (e.g., find Jo matches John and Joan).
Examples:
find JohnreturnsjohnandJohn Doefind alex davidreturnsAlex Yeoh,David Li
Warning: The find command only searches names. Ensure that names are correctly spelled.
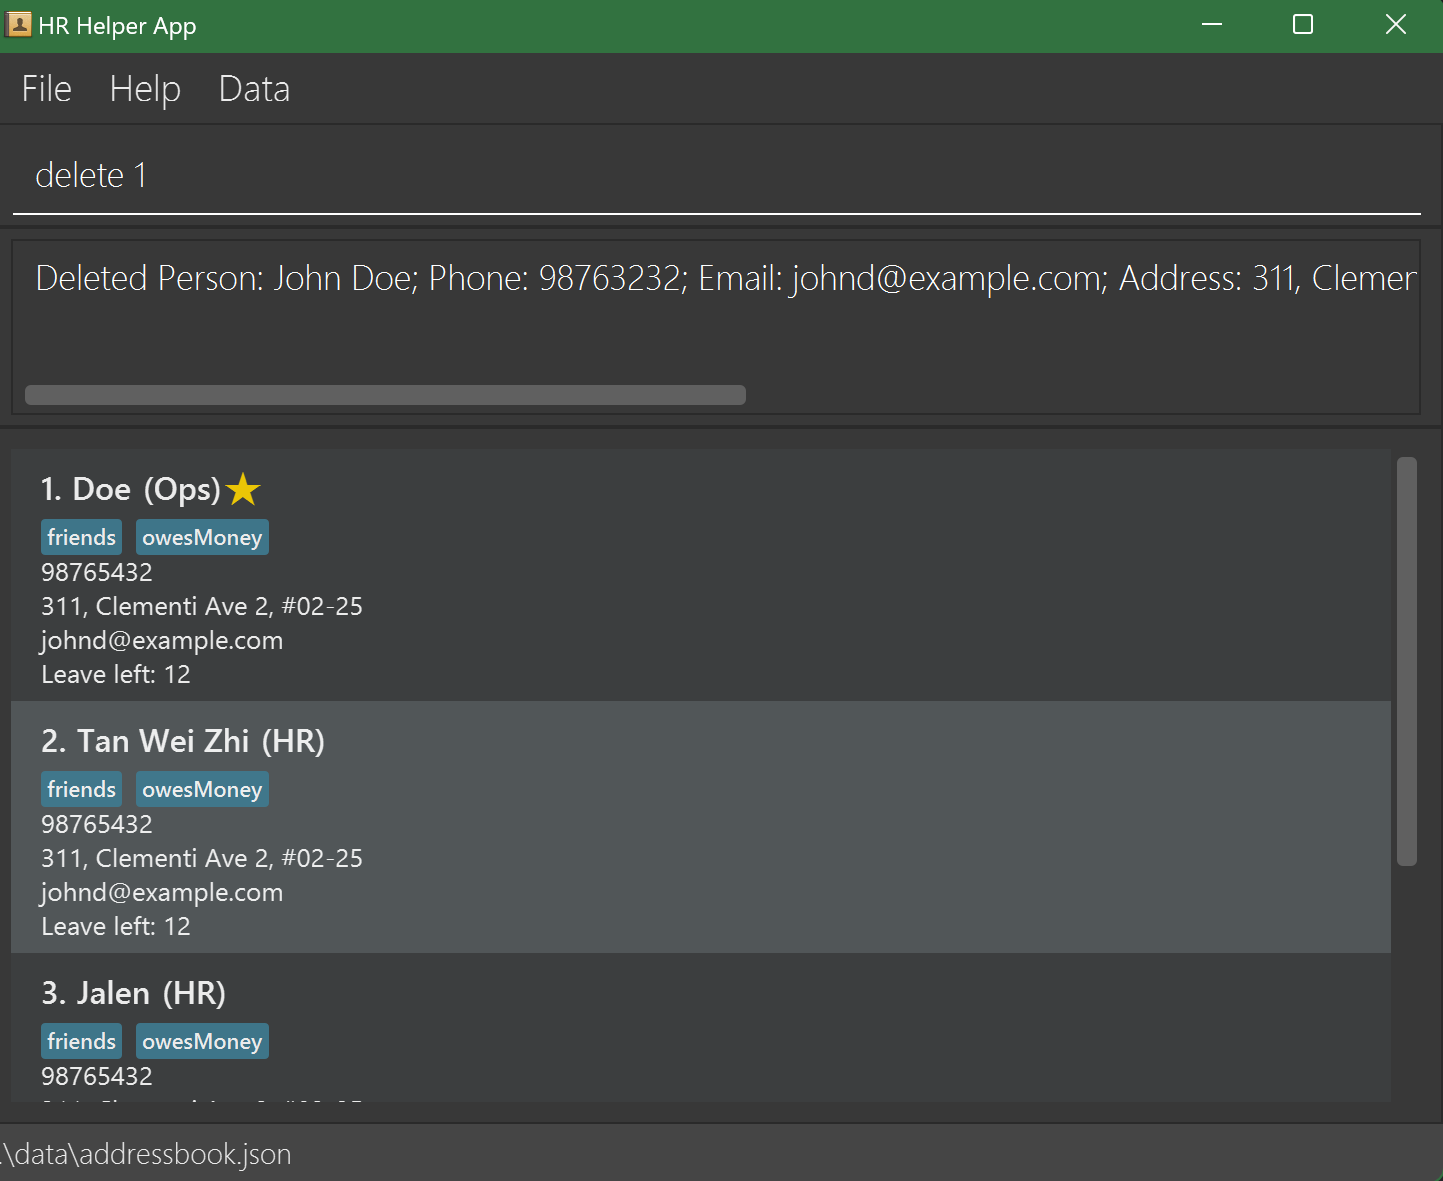
4.8 Deleting an employee : delete
Deletes the specified employee from HR Helper.
Format: delete INDEX
- Deletes the employee at the specified
INDEX. - The index refers to the index number shown in the displayed employee list.
- The index must be a positive integer 1, 2, 3, …
Tip: Use delete carefully, especially after sorting or filtering, as index positions may change.
Examples:
listfollowed bydelete 2deletes the 2nd employee in HR Helper.find Betsyfollowed bydelete 1deletes the 1st employee in the results of thefindcommand.
Warning: This action is irreversible. Use list before delete to confirm the index.
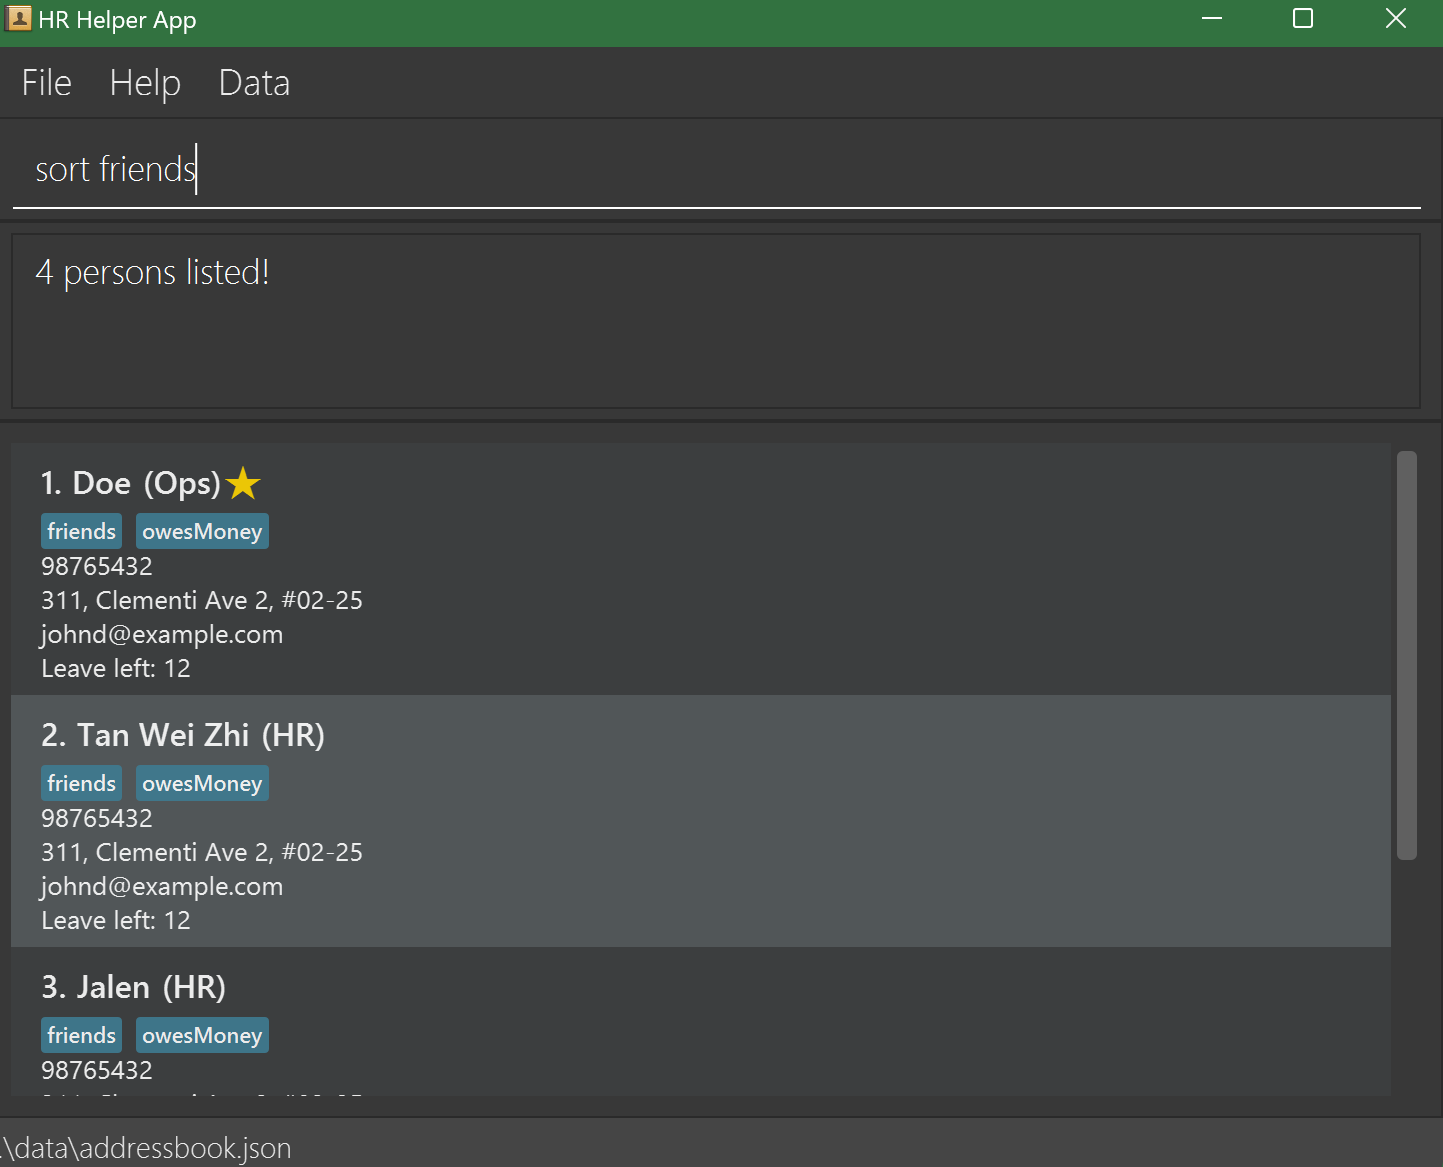
4.9 Sorting Employees : sort
Sorts the displayed employees based on specified tags.
Format: sort TAG
- Sorts the employees according to the specified tags.
Tip: For large lists, use sort with commonly used tags to improve data visibility.
Examples:
sort friendSorts and displays all employees tagged as friend.
Warning: Sorting by multiple tags may combine various groups, which can affect other commands relying on order.
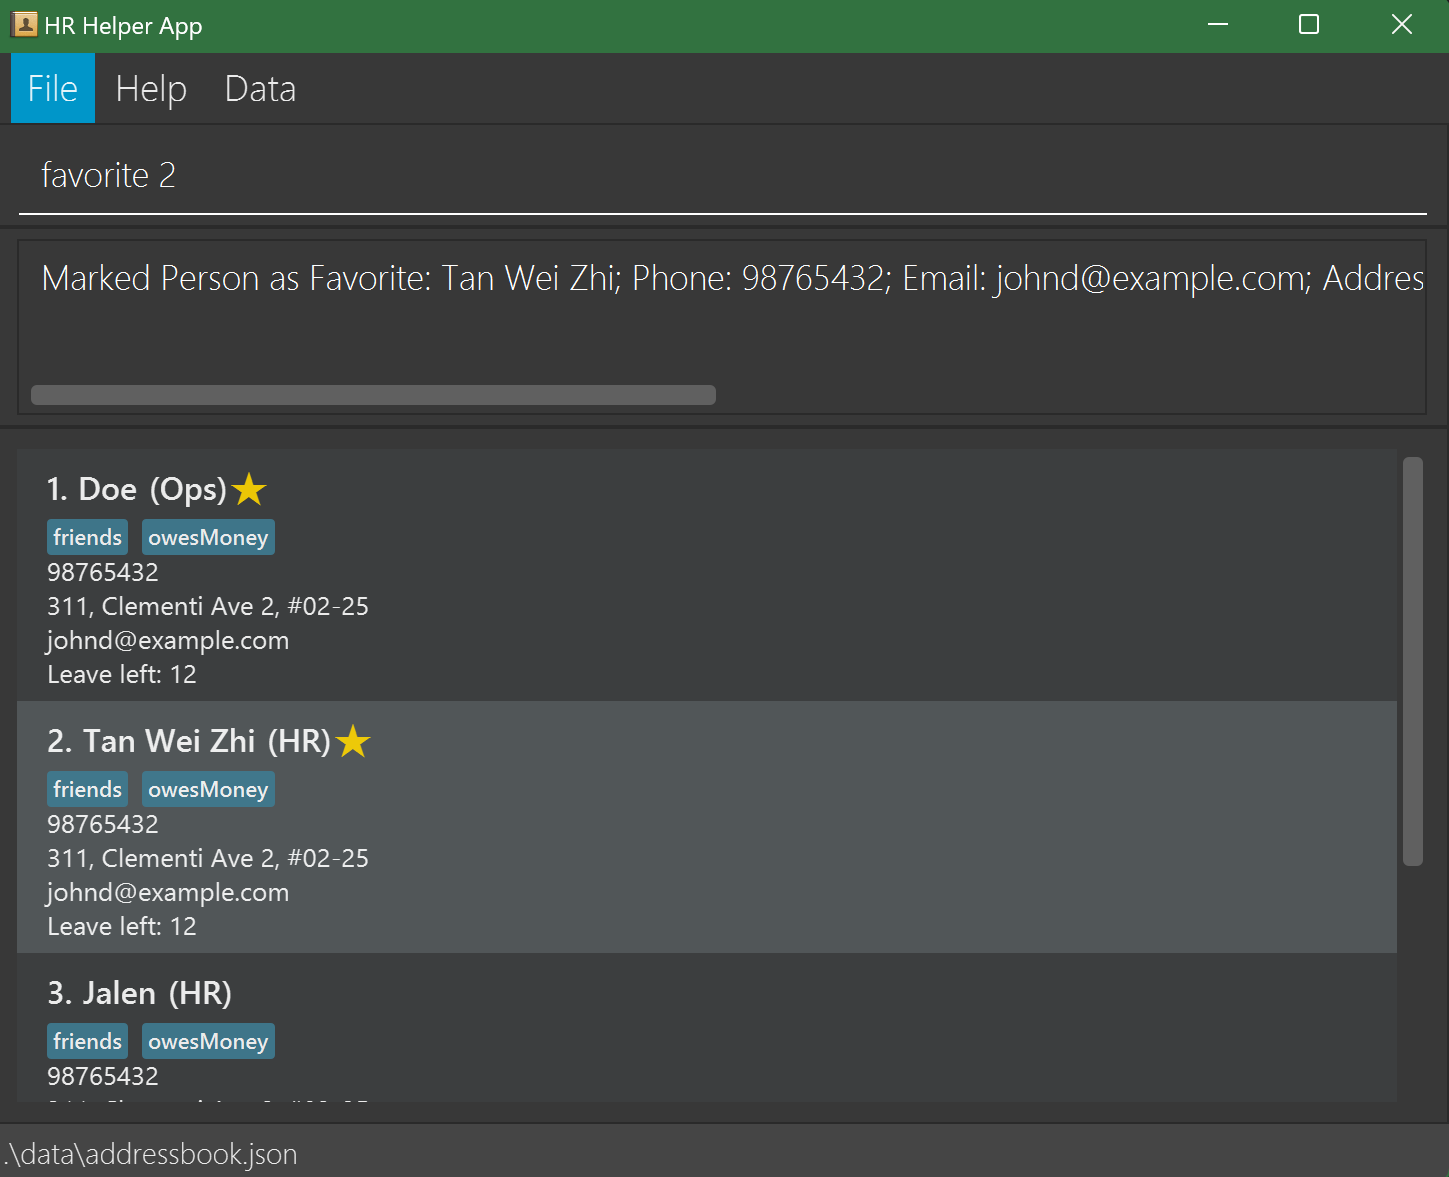
4.10 Favoriting an employee : favorite
Favorites the specified employee from HR Helper.
Format: favorite INDEX
- Favorites the employee at the specified
INDEX. - The index refers to the index number shown in the displayed employee list.
- The index must be a positive integer 1, 2, 3, …
Tip: Use favorite for high-priority employees, making them easier to locate with filtering or sorting.
Examples:
listfollowed byfavorite 2favorites the 2nd employee in HR Helper.find Betsyfollowed byfavorite 1favorites the 1st employee in the results of thefindcommand.
Warning: Avoid favoriting too many employees, as an excessive number of favorites can make it challenging to identify key employees quickly.
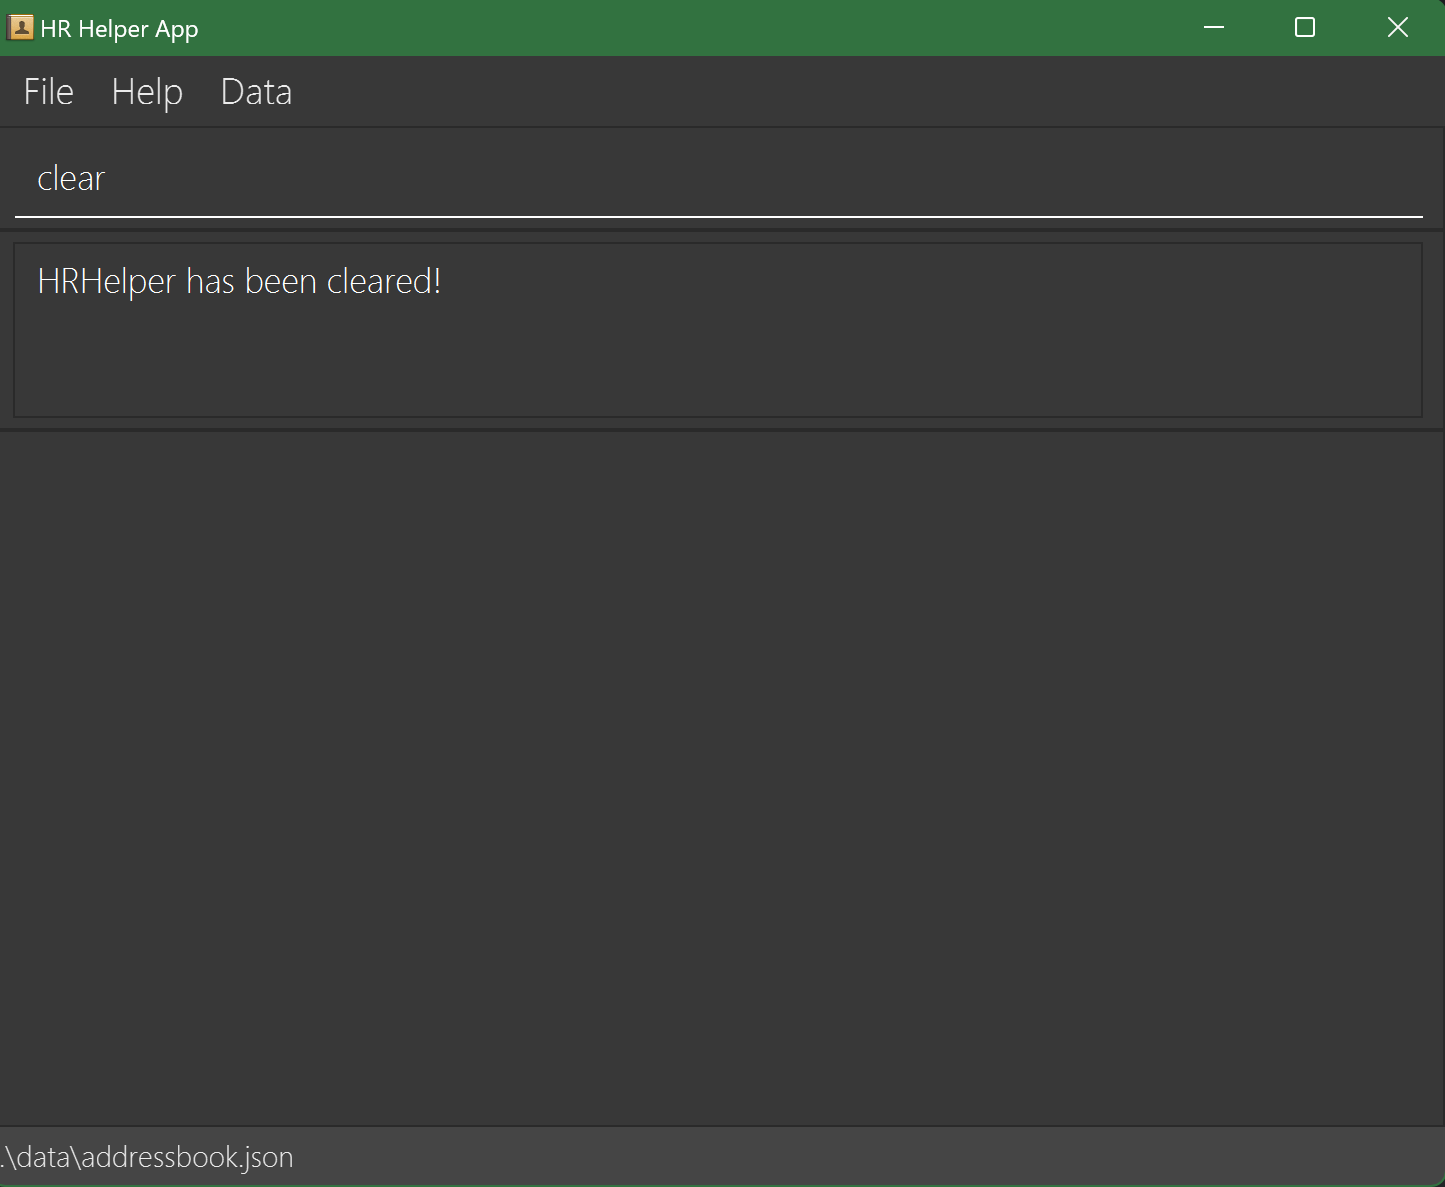
4.11 Clearing all entries : clear
Clears all entries from HR Helper.
Format: clear
Tip: Use clear only when resetting the database is intentional.
Examples:
clearresets the database in HR Helper.
Warning: This action is irreversible. Back up data if necessary before clearing.
4.12 Exiting HR Helper : exit
Exits HR Helper.
Format: exit
Tip: Use exit only after confirming that all changes have been saved, as the program automatically saves data with each command.
Warning: Exiting abruptly may interrupt ongoing processes. Use the exit command instead of closing the window directly to ensure a clean shutdown.
4.13 Employee Details Window
The Employee Details Window allows HR personnel to view and edit detailed information about each employee efficiently. This guide provides a concise overview of how to use this feature effectively.
- Keyboard Shortcut:
- Select a employee from the Employee List.
- Press the
Enterkey to open the Employee Details Window.
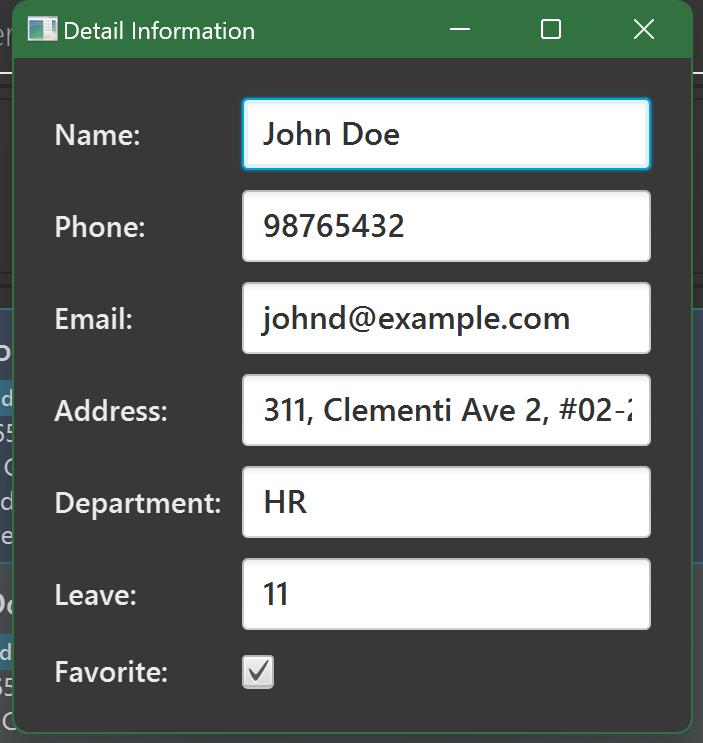
- Name: Editable text field displaying the employee's full name.
- Phone: Editable text field for the employee's contact number.
- Email: Editable text field for the employee's email address.
- Address: Editable text field for the employee's residential or mailing address.
- Department: Editable text field indicating the employee's department within the organization.
- Leave: Editable text field showing the remaining leave days available to the employee.
- Favorite: Checkbox to mark the employee as a favorite for quick access.
Editing Information
Modify Fields:
- Press
Enteron keyboard on any text field (e.g., Name, Phone) to edit the information. - For the Favorite checkbox, press
spacebar to toggle the favorite status.
- Press
Navigate Between Fields:
- Tab Key / Down Arrow (
↓): Move to the next field. - Shift + Tab Key / Up Arrow (
↑): Move to the previous field.
- Tab Key / Down Arrow (
Save Changes:
- Press the
Enterkey to save all modifications. - The window will close, and changes will reflect in the Employee List.
- Press the
Cancel Changes:
- Press the
Esckey to discard all changes and close the window without saving.
- Press the
Validation and Error Handling
Mandatory Fields:
- All fields are required. Ensure no field is left empty before saving.
Format Requirements:
- Phone: Must be a valid phone number format.
- Email: Must follow standard email formatting (e.g.,
example@domain.com).
Error Messages:
- If invalid data is entered, an error dialog will appear prompting correction.
- Follow the on-screen instructions to rectify any issues.
4.14 Saving the data
HR Helper data are saved in the hard disk automatically after any command that changes the data. There is no need to save manually.
4.15 Editing the data file
HR Helper data are saved automatically as a JSON file [JAR file location]/data/addressbook.json. Advanced users are welcome to update data directly by editing that data file.
Warning: If your changes to the data file makes its format invalid, HR Helper will discard all data and start with an empty data file at the next run. Hence, it is recommended to take a backup of the file before editing it.
Furthermore, certain edits can cause HR Helper to behave in unexpected ways (e.g., if a value entered is outside the acceptable range). Therefore, edit the data file only if you are confident that you can update it correctly.
4.16 Importing/Exporting the data file
HR Helper data can be exported as a csv.
Format: DRIVE:/PATH/TO/FILE.csv
Examples: C:/files/data/people.csv E:/fakefolder/hr.csv D:/data.csv

5 Command summary
| Action | Format | Examples |
|---|---|---|
| Add | add n/NAME p/PHONE_NUMBER e/EMAIL a/ADDRESS [t/TAG]… | e.g. add n/James Ho p/22224444 e/jamesho@example.com a/123, Clementi Rd, 1234665 t/friend t/colleague |
| Clear | clear | |
| Count | count: counts entire employee listcount tag/TAG: counts people in given tag | e.g. count tag/Colleagues |
| Delete | delete INDEX | e.g. delete 3 |
| Edit | edit INDEX [n/NAME] [p/PHONE_NUMBER] [e/EMAIL] [a/ADDRESS] [t/TAG]… | e.g. edit 2 n/James Lee e/jameslee@example.com |
| Favorite | favorite INDEX | e.g. favorite 3 |
| Find | find KEYWORD [MORE_KEYWORDS] | e.g. find James Jake |
| Help | help | |
| List | list | |
| Sort | sort TAG | e.g. sort managers |
6 FAQ
Q: How do I transfer my data to another Computer?
A: Install the app in the other computer and overwrite the empty data file it creates with the file that contains the data of your previous HR Helper home folder.
7 Known issues
- When using multiple screens, if you move the application to a secondary screen, and later switch to using only the primary screen, the GUI will open off-screen. The remedy is to delete the
preferences.jsonfile created by the application before running the application again. - If you minimize the Help Window and then run the
helpcommand (or use theHelpmenu, or the keyboard shortcutF1) again, the original Help Window will remain minimized, and no new Help Window will appear. The remedy is to manually restore the minimized Help Window. - When using
countcommand, follow the convention oftag/TAGandname/NAME, rather than thet/TAGandn/NAMEused for other commands. Do be careful of this inconsistency. - Does not track maternity leave up to 6 months, which is not part of annual leave.